Electric motors are used everywhere in industrial environments and are becoming increasingly complex and specialized. Keeping engines running at peak performance is a serious challenge. It is important to remember that motor and drive-related problems are not limited to one particular cause – electrical and mechanical issues can cause motor failure. Being equipped with the proper knowledge in this area means the difference between costly downtime and improved asset uptime.
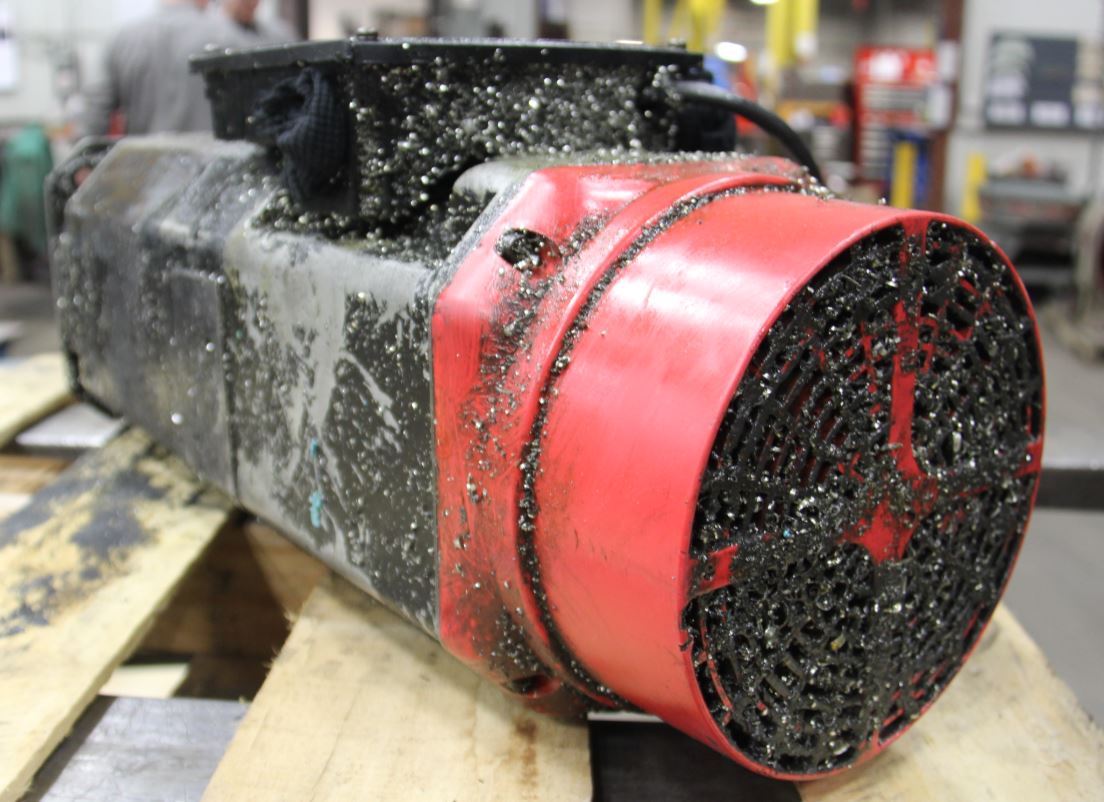
The servo motor does not have an infinite lifespan like other motor models. Finally, one day this engine breaks down and faces serious problems. To repair this product, it is very important to investigate the cause of failure. Note that servo motor repair is a complex process and various troubleshooting processes take place during it. In general, various reasons can be defined for buying a servo motor.

Each of these reasons affects you and your engine in a special way. The first is a voltage-related failure. If the input current of the motor is 1.5 times the rated current, the motor is damaged and has problems. If you increase the voltage of the main circuit of this device to a significant extent, you should also expect serious failures..
Apart from high voltage, the presence of low voltage can also bring unfavorable results for you. If the voltage of the main circuit decreases to a significant extent, the possibility of damaging the motor and burning it increases. At the same time, you should not put too much load on the engine. Placing and imposing a heavy load on the engine can bring you unfavorable results.
Other causes of failure
Among other reasons related to the failure of this product, we can mention speed change. All servo motor models have a maximum allowable speed. At this speed, the engine uses all its power to perform the desired operations. If your activity speed exceeds the limit, you will face a problem. By installing this product correctly, you can check a large number of different errors and prevent problems.
The step-by-step repair process of servo motor!
Servo motor repairmen are people with many claims, but a limited number of them are proficient in correct servo motor repair. Many steps in servo motor repair need to be addressed. The most difficult step in the feedback repair is the alignment reset. This small repair step is the key to accurate servo motor repair, without perfect alignment, all other servo motor repairs are irrelevant and pointless.
To perform a complete alignment, the repairer must use a very expensive alignment system. Because of this cost and the inability to repair the electronic parts of the feedback device, many repair companies do not repair the servo motor. In general, the steps to repair the servo motor are given in the following sections and we invite you to read these steps to repair, reset and fully load the servo motor.

First step: initial assessment
During an initial evaluation, a visual inspection is performed to check parts such as shafts, spigots, end cap clips, clamps, and connectors. After the inspection, a test with a voltmeter is done, which is a comparison of the voltage increase or decrease in the stator, whether the stator needs winding or not.
In the next step, the insulation resistance measurement test, often called the Megger test, is performed at each step to ensure that the insulation is not broken. The next test in the evaluation is the phase balance test, which uses an RMS meter to ensure that the windings are balanced between phases. If the servo motor has a brake, the brake is also checked here.
second step: disassembling the parts
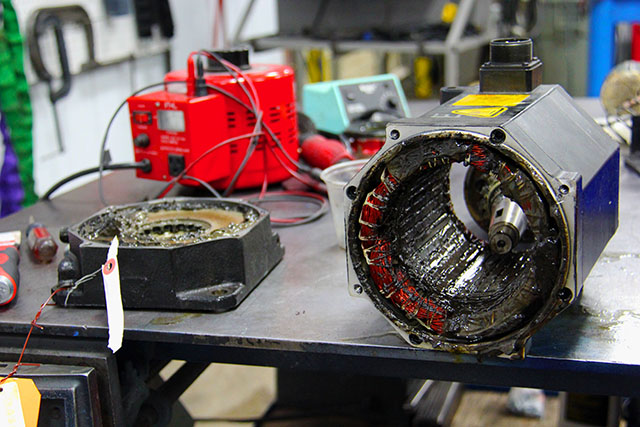
First, the protective back plate is removed, followed by the encoder housing and the encoder, while the cabling is carefully separated. Then the end cap is removed and the rotor is pulled out from the stator. Here the rotor and shaft are visually inspected. Then the bearings, housing, bearing housing, and brake are removed.

Read more: What is Servo Motor?
Third step: cleaning
An alkaline solution should be used because its dissolving power is better for the engine than manual cleaning or pressure washing. All our engine parts are washed with this method.
Four Step: change the bearing
It is important to replace the bearings every time as they are often the cause of engine failure. We only use high-quality bearings that meet or exceed all manufacturer specifications. After replacing the bearing, the engine is reassembled. In this part, alignment and feedback are very important in the assembly
Five Step: final test
To ensure a complete engine repair, a memory test is then performed to ensure the feedback device is realigned. After the repair is fully tested and approved, the servo motor is ready to use!


